DOI
Go to Pure (https://pure.knaw.nl/)
Filter and select research output without DOI (see: filter on output without DOI)
Select the research output that you want to add a DOI to.
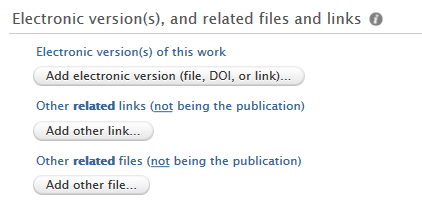
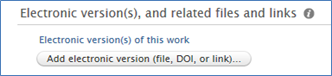
Scroll down and click Add electronic version (file, DOI, or link)…
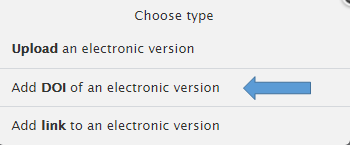
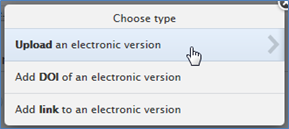
Choose type Add DOI of an electronic version
Add the DOI

Note: A DOI will always begin with 10 and not with https:// (this would be a link which you can use in the URL field). You need to remove https://doi.org/ before adding the DOI to Pure.
Wrong format: https://doi.org/10.1186/2041-1480-3-9
Correct format: 10.1186/2041-1480-3-9
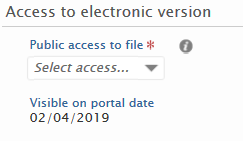
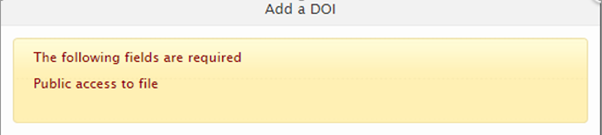
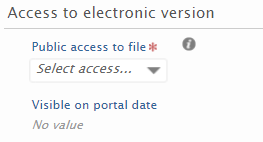
Set the Public access to file (open, embargoed, restricted, closed, unknown) in order to be able to save the record with the DOI. (see Toelichting: Public access to file)
Otherwise the following error message pops up:
Save the record.
There are multiple ways to search for DOI.
The easiest way is to click on the link in Pure to the pdf of the article. It will send you to the publisher’s website.
If there is no pdf or link, there are several other options. Copy the title of the article and search for it on/in:
- Publisher’s website, for example PlOS ONE

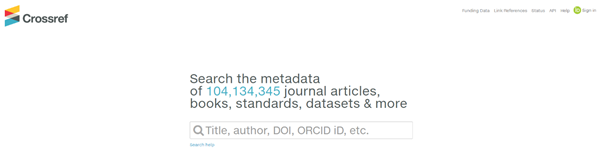
- CrossRef Metadata search:
- Bibliographic databases such as:
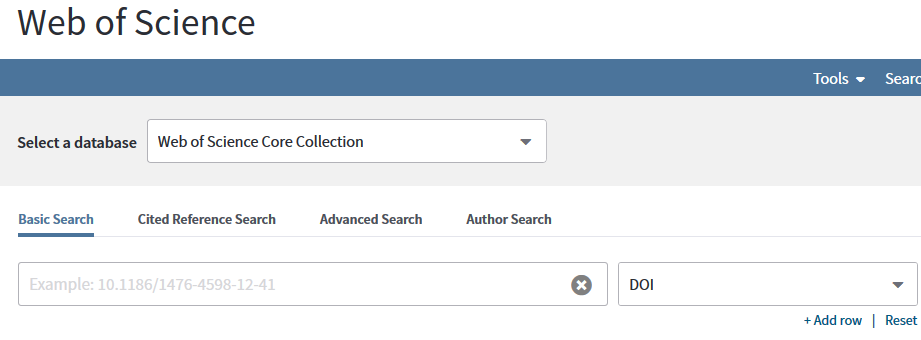
- Web of Science
-
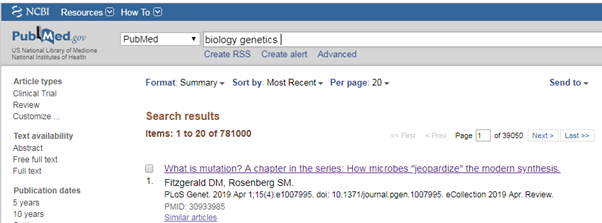
- Google Scholar
- Scopus (only when you have a subscription)
- Web of Science
There are also other databases based on discipline, where you search for a DOI.
It is always good idea to check the DOI here: http://www.doi.org/
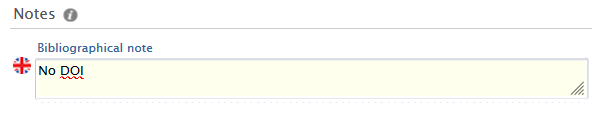
Niet alle onderzoeksoutput beschikt over een DOI. Het is mogelijk om aan te geven in het record dat er geen DOI aanwezig is in het veld Notes.
Open hiervoor de output zonder DOI en scroll naar beneden naar het veld Bibliograpical note. Voeg aan dat veld toe: ‘”No DOI” (oid).
In een rapport kun je de output met “No DOI” uitsluiten van je resultaten. Hoe je dit kunt doen is beschreven in een instructie.
Reporting and filtering
You can find the filter option right below the search box. It is small but very effective!

Clicking the button reveals a list of filter options.
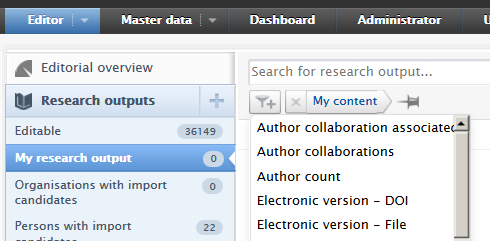
Before you continue, make sure My Content is there!
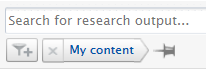
Otherwise filter on your institute first.
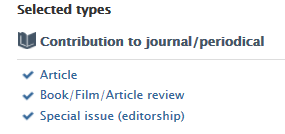
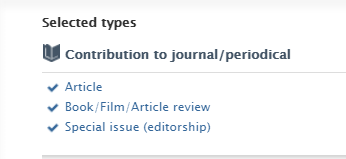
Click filter, then select Type and select all the following types:
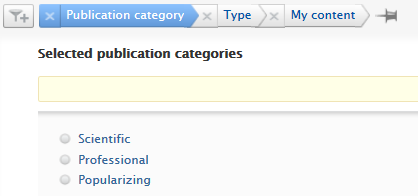
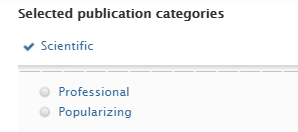
Click filter, then select Publication category and Scientific
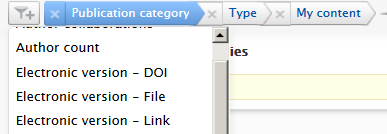
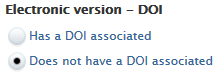
Click filter, then select Electronic version – DOI
Select Does not have a DOI associated
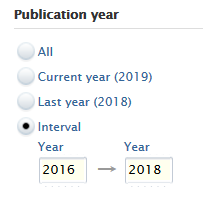
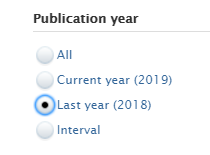
Click filter, then select Period, and Publication year: Last year (2018)

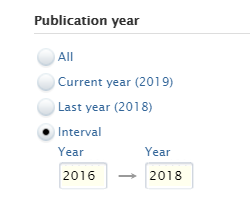
If you want a report for multiple years, select Interval, and add the start Year and end Year of the period you want to filter.
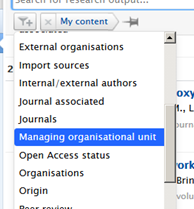
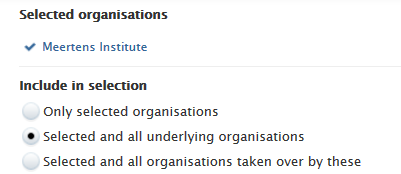
To filter on your institute, click on the filter and select Managing organisational unit
Type the name of your organisation (institute).
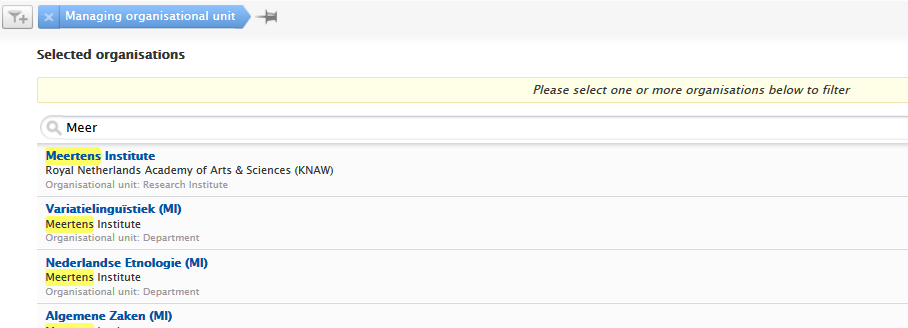
And, if relevant, select Selected and all underlying organisations.
Het kan voorkomen dat je aan Research output bijvoorbeeld de bibliografische notitie ‘No DOI’ hebt toegevoegd omdat er geen DOI beschikbaar is voor deze specifieke publicatie. Als je een rapport wilt maken van alle output zonder DOI, maar deze output daar niet steeds weer in terug wilt komen, kan dit als volgt.
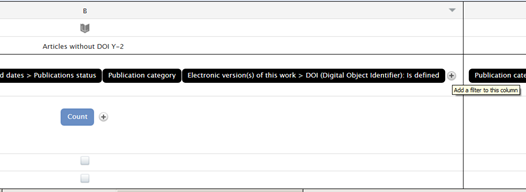
Open een rapport, bijvoorbeeld Report of articles with no DOI (of stel een nieuw rapport samen.)

Klik op Add filter
Of op het plusje Add filter to this column (en dan Add filter)
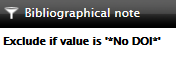
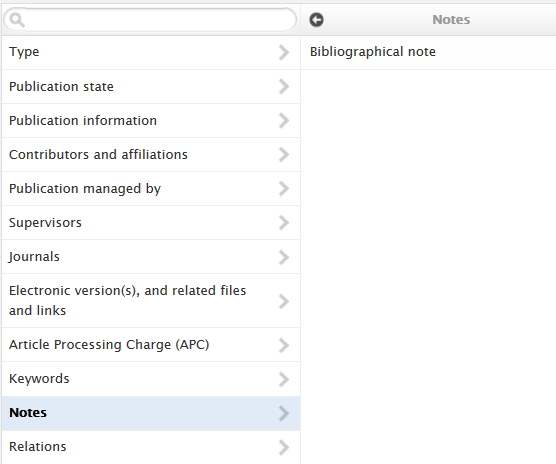
Kies Notes – Bibliographical note
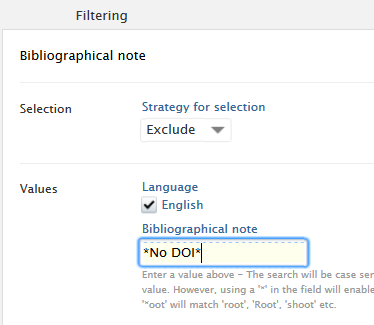
Kies of je de selectie inclusief (Include) of exclusief (Exclude) het trefwoord wilt. Vink Engels aan en vul bij Bibliographical note de tekst in die je zoekt. In dit voorbeeld No DOI. Of beter: *No DOI*: door de sterretjes worden ook de velden meegenomen waar meer staat dan No DOI.
Let op: de zoekopdracht is hoofdlettergevoelig (no doi wordt dus niet meegenomen!)
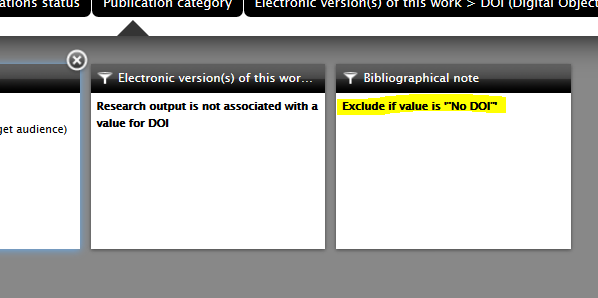
In het rapport ziet dat er als volgt uit:

Go to Pure (https://pure.knaw.nl/)
Click Research outputs:

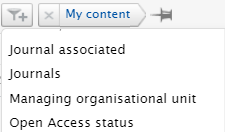
Click Filter button:

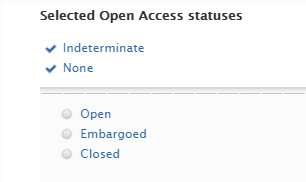
Select Open Access status:
Before you continue, make sure My Content is there! Otherwise filter on your institute first.
For filtering output without OA status, select None and/or Indeterminate from the list:
Click filter, then select Type and select all the following types:
Click filter, then select Publication category and Scientific:
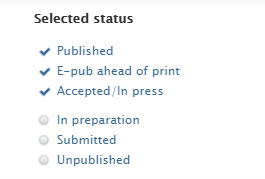
Click filter, then select State and select all the following types:
Click filter, then select Period, and Publication year: Last year (2018)
If you want a report for multiple years, select Interval, and add the start Year and end Year of the period you want to filter.
Open Access
Go to Pure (https://pure.knaw.nl/)
Filter and select research output without Open Access (OA) status
(see: filter on output without Open Access status).
Select the research output that you want to add OA status to.
Scroll down and click Edit, then set the Public access to file to Open.
(see Toelichting: Public access to file; How do I know if a publication is Open Access?; OA flag logic by Elsevier)
Note: only if the electronic version of a record (File, DOI, or Link ) is available it is possible to add OA status to the record. Otherwise, you need to first add the electronic version to the record and then able to select the OA status (see How does Pure determine whether a publication is ‘open’?).
The Open Access logo will appear as following:
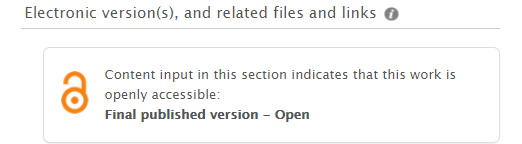
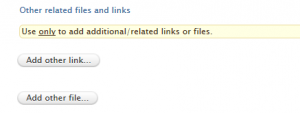
Note: ONLY use the field Add electronic version (file, DOI or link). Don’t use the Add other link/File. If you use the fields Add other link of Add other file for the publication, the publication will not be recognized as being open access!
For setting the License to Document see here:
https://adminpure.knaw.nl/?p=4790
Click Create/Update.
Onder ‘electronic version(s)’ wordt (een link naar) de eigenlijke publicatie vastgelegd. Het kan gaan om de definitieve gepubliceerde versie, of om een ‘auteursversie’. In het laatste geval kan het gaan om een versie die de officiële versie vooraf is gegaan, of om een versie die na de officiele publicatie is gemaakt.
Je hebt hier drie keuzes: Je kunt een bestand uploaden, of – als het bestand al Open Access beschikbaar is op de website van de uitgever of in een ander repository – de Open Access gegevens via de DOI of de link naar de uitgeverswebsite vastleggen.
NB: Gebruik niet de ‘other links’ of ‘other files’ – Bestanden die hieronder worden vastgelegd worden niet als Open Access meegeteld.
Wanneer de publicatie vrij beschikbaar is via de website van de uitgever, kan volstaan worden met het toevoegen van de DOI of de link naar de website van de uitgever of het tijdschrift.
[return_post_id]
Note: if you have access to an article (through a database or IP) it does not necessarily mean that the article is open access! Therefore it always worth to check the OA status of publications.
Check the article’s journal website. If a publication is OA then it is visible (via OA logo or OA statement) on the publisher website.
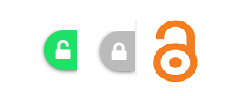
It is suggested to add Unpaywall/Open Access Button/Kopernio plugins to your Chrome or FireFox (if possible) browsers. In this case the OA logo or Unpaywall Button (green for OA vs. gray for non-OA) will show the OA status of publications.
Unpaywall
- Add Unpaywall plugin to your browser.
- Check the OA status of the article (green vs. gray button) in the right side of the article.
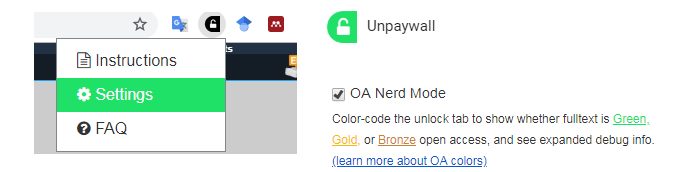
- If you are interested it is possible to enable the plugin to indicate the OA (Green, Gold, or Bronz) colors. For this, click on the Unpaywall button in your browser, click settings, and then check the OA Nerd Mode as shown bellow:
Open Access Button
You can use the Open Access Button in two different ways:
- Search the article in Open Access Button by using either article’s URL, DOI, PMID, PMCID, or title. The OA Status will be shown.
- Click on the OA button in your chrome browser. It will show the OA status of the article.
Kopernio
- Add Kopernio Plugin to your browser.
- Create an account.
- When you search an article the ‘View PDF’ button will appear both in the browser navigation bar and in the left side of the article and identify if you have access to the full text.

Other Tools
Search OA databases such as PubMed Central, DOAJ, DOAB, Core, Science Open, Open Research Central.
Other databases such as Web of Science, Scopus (only when you have subscription) and Dimensions show information on the OA status of articles.
Note: It is suggested to use a combination of different tools to identify the OA status of a publication.
Also see Tools to determine OA publications and KNAW OA deals with publishers.
Based on Budapest Declaration (2002) and Berlin Declaration (2003), Open Access (OA) means unrestricted online access to Peer-reviewed scholalry research for any user. It includes the right to read, download, print, copy, distribute, search, link, crawl and mine. Another definition of Open Access by Suber (2004)is: “Open-access (OA) literature is digital, online, free of charge, and free of most copyright and licensing restrictions“, (See Open Access Overview, CC BY 3.0 US). OA articles are free to read online, either on the publisher website or in an OA repository (Piwowar et al., 2018). For more info visit: ec.europa.eu
Why Open Access is important?
- Requried by funders such as NWO and EU as a condition for funding.
- Facilitates transtition to Plans S (see also PlanS 10 Principles and revised PlanS princiles) that by 2020 scientific publicaitons resulted by public funds must be published in OA journals.
- Increase accessibility, usage, visibility, and impact of research outputs.
For pros and cons of OA visit here:
https://www.openaccess.nl/en/what-is-open-access/pros-and-cons
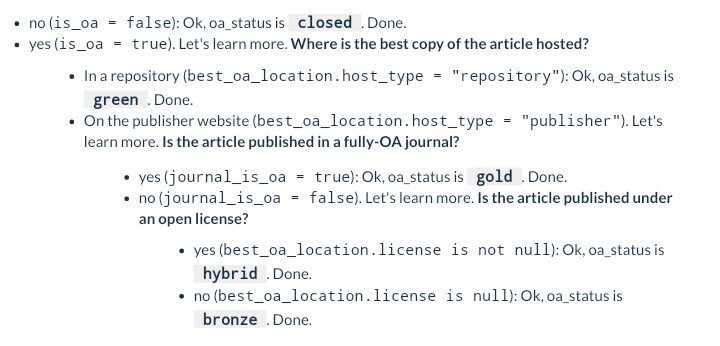
There are different types of Open Access (OA) publications:

Gold OA refers to publications in an open access journal (for example PLOS journals) for which the Article Processing Cost (APC) has been payed by authors, institutes, or research funders.

Green OA refers to publications in a journal that are also available in an open access repository. These publications
(pre-prints or post-prints with publisher permission) are whether self-archived in either an institutional or disciplinary repository (such as arXiv.org) by the authors/librarians or archived in systems such as PubMed Central (PMC).

Bronze OA refers to publications in a journal that are open access and free to read on publisher’s website (but not free to reuse, adapt, or share) after the embargo period. These publications are not considered as real open access since there is no clear license/terms of (re)use that can be revoked at any time by the publisher.
Hybrid OA (payed OA) refers to publications in a subscription journal that are open access. Hybrid journals offer authors (for a fee) the option of making their articles open access. These journals have both closed and OA articles.
For more information on OA colors visit:
https://en.wikipedia.org/wiki/Open_access
Also, as explained here, Unpaywall offers the different colors of Open Access if it is enabled in the plugin. How does Unpaywall define green, gold, bronze, and hybrid types of OA is shown bellow:
Is article OA?
Visit this page: How to determine Open Access (OA); Tools to determine Open Access (OA) Publications
Deduplication
Go to Pure: https://pure.knaw.nl
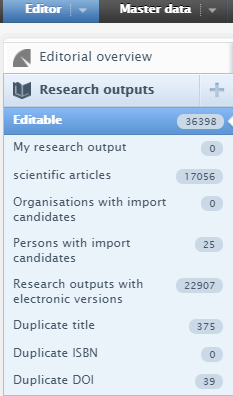
Click Research Outputs under Editor and select Duplicate title/ISBN/DOI:
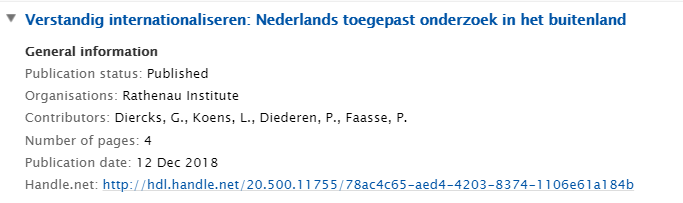
Find the duplicate publication from your own institute whether by going through the duplicate title list or by searching the title of publication (you received in the Excel file) in the search box.
Alternatively filter duplicate records by year as explained here: https://adminpure.knaw.nl/?p=5741
Note: The list above shows the duplicate records of all KNAW institutes. In order to find the duplicate record of your institute you need to search by title or DOI in the duplicate title or duplicate DOI list. Alternatively, search by title, DOI or UUID in the research output search box particularly in case the research output is not found in the duplicate list.
Note: All the bibliographic information of the research outputs needs to be carefully checked before any decision is made for deduplication.
If it is found that the records shouldn’t be merged since they refer to different outputs, then click Accept as duplicates otherwise click Merge.

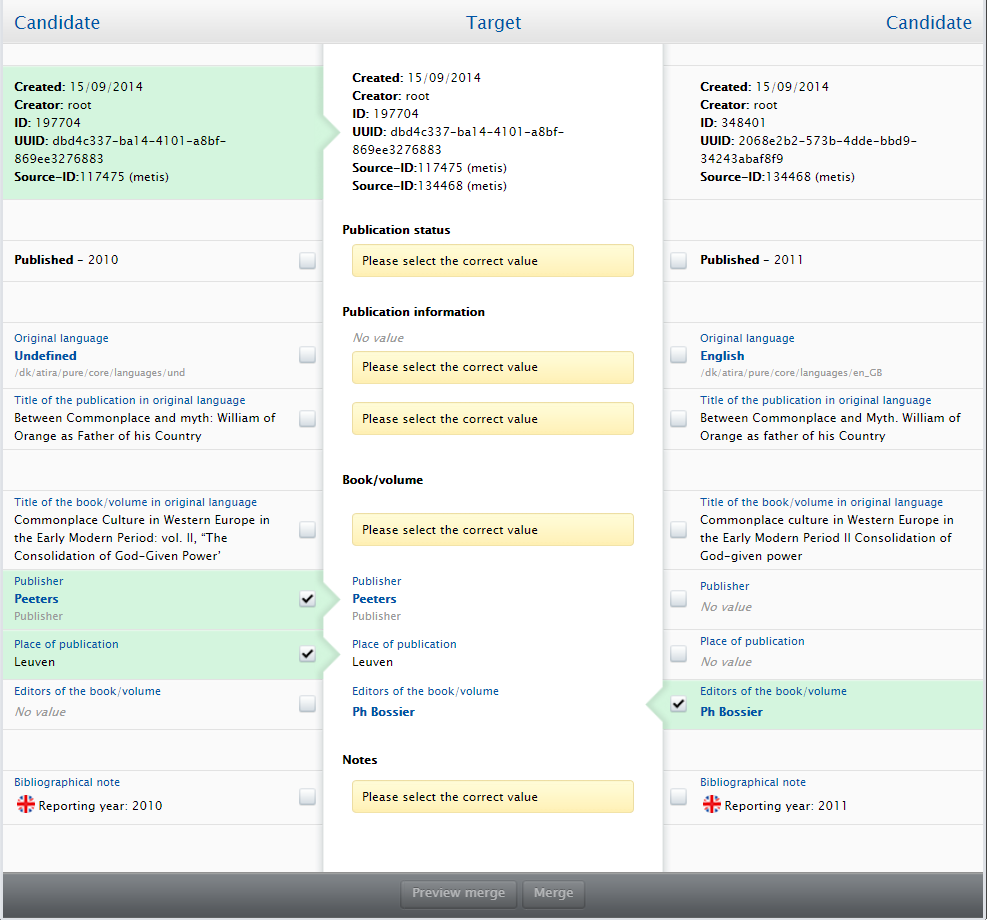
Control the bibliographic data and select the fields with the most complete and correct data:
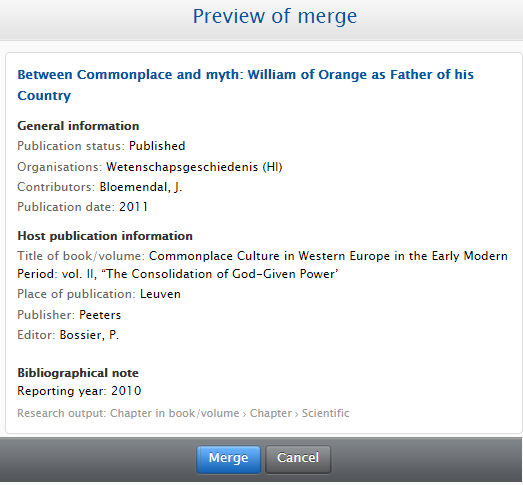
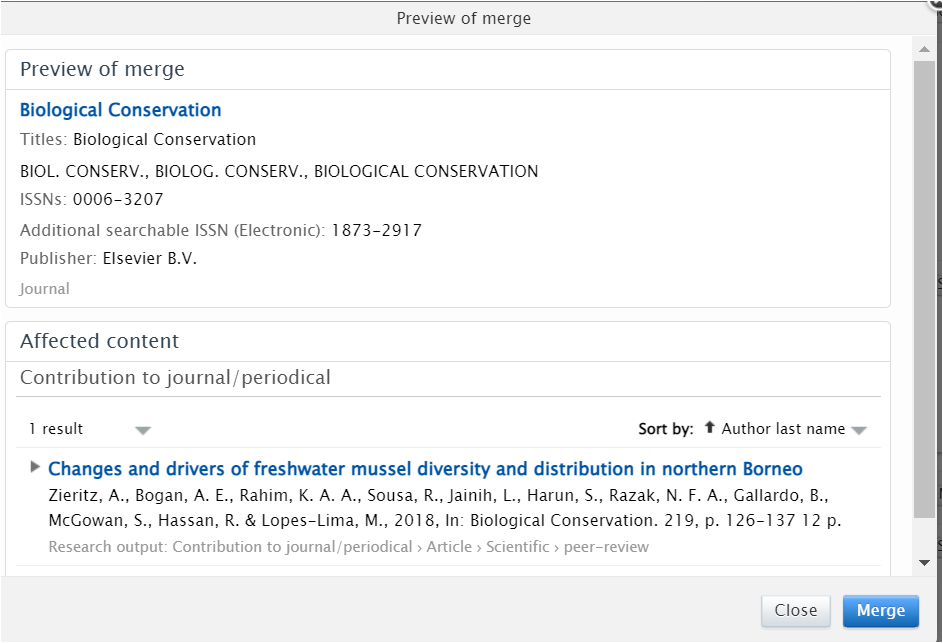
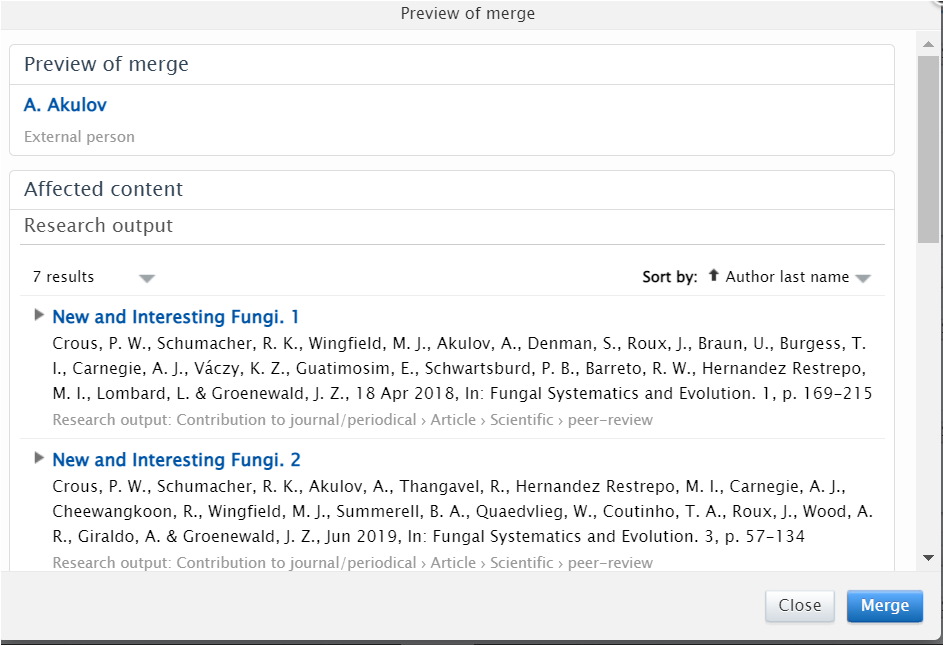
Click firstPreview merge and then Merge:
Note: it is only possible to merge research outputs of the same content type. If duplicate records relate to different content types (article and conference paper for example) the following message pops up:

Go to Pure: https://pure.knaw.nl
Click Research Outputs under Editor and select Duplicate title:

Add Publication Year and click Find Duplicate:

Then click the triangle next to the publication to check the organization:
If the publication belongs to your own institute then follow these steps to merge the duplicate titles or accept as duplicates.
Go to Pure: https://pure.knaw.nl/
Follow these steps:

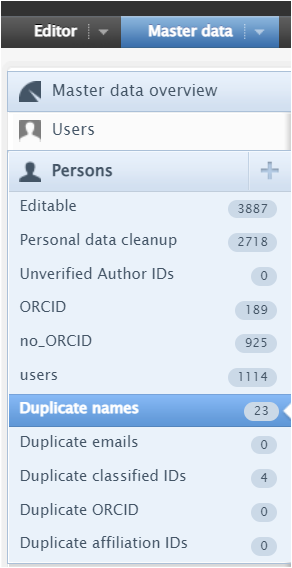
- Go to Master data and click on Persons.
- Click duplicate names.
- Check the list of duplicate names.
- Find duplicate names related to your institute from the list.
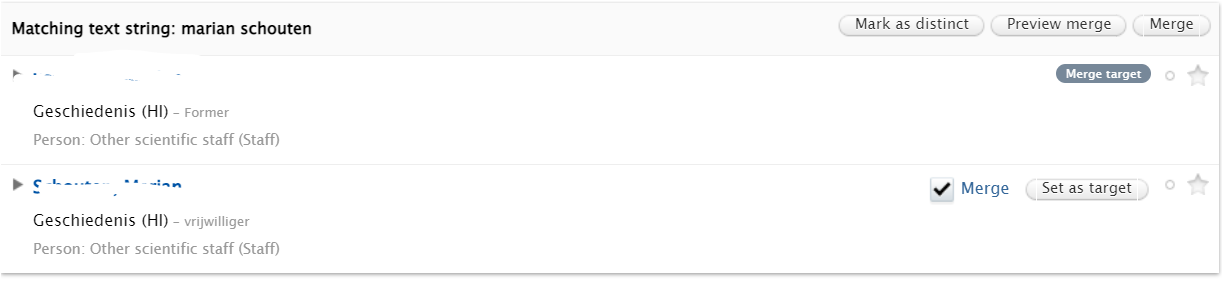
- Click on both names and check all the information particularly Organisation affiliation.
- Decide which record should be set as target.
- Close the two records and go back to the duplicate list (Step 3).
- Click on Set as target, Preview merge, and Merge.
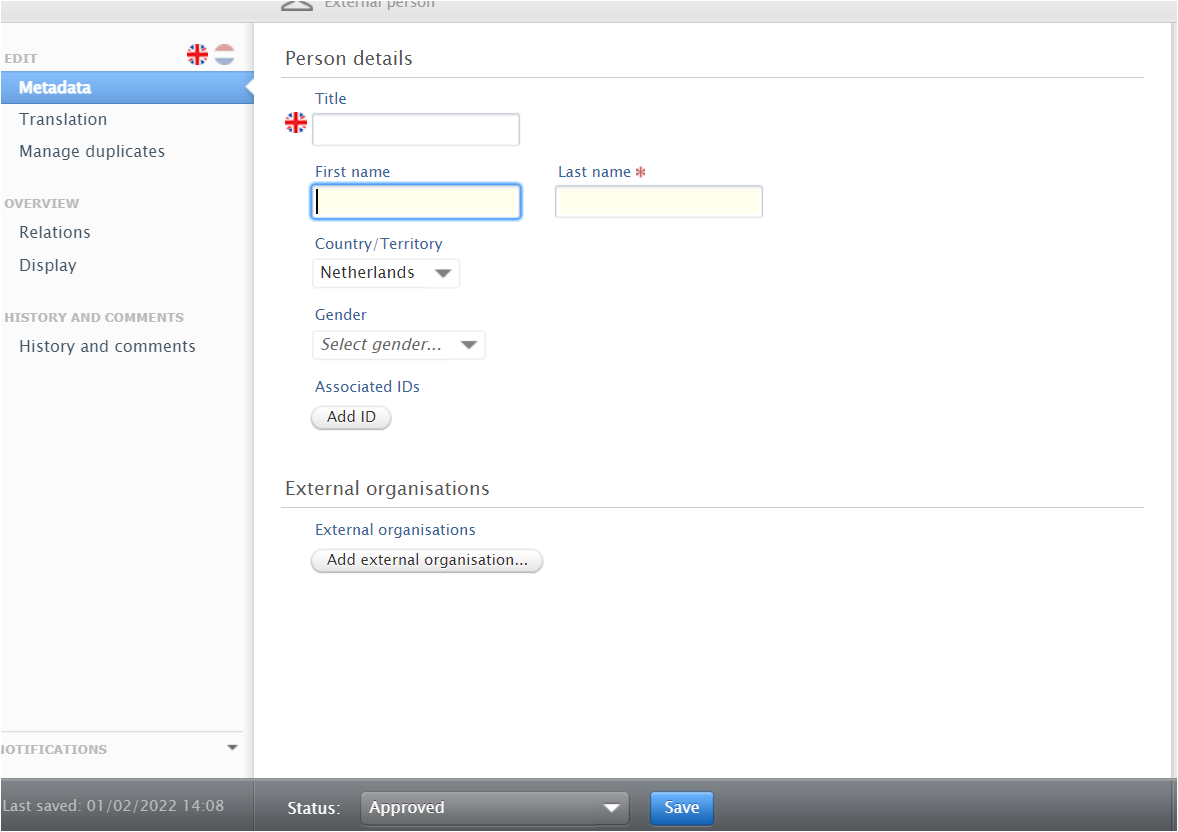
After merging the record, search the name in the Persons and check the record. Follow the steps explained in the following link if you need to edit the Person record:
Follow these steps:
- Go to Pure: https://pure.knaw.nl
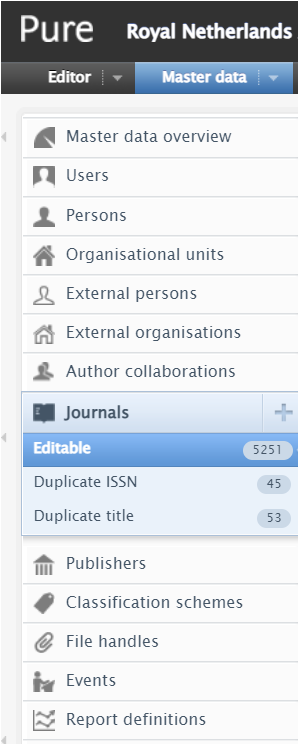
- Go to Master data and click on Journals.
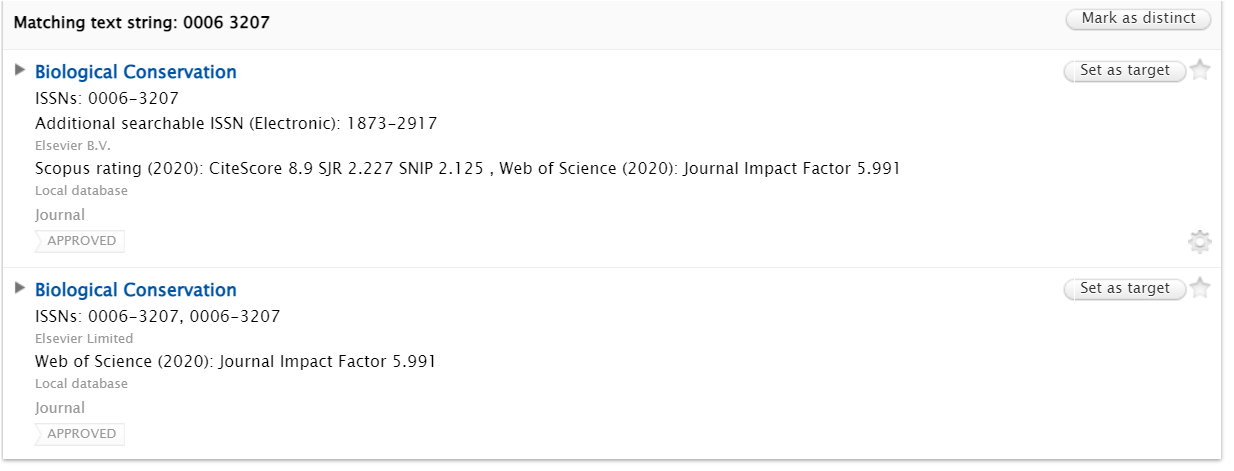
- Under Journals click Duplicate Titles and Duplicate ISSN.
- Check the list of duplicate titles/ISSN.
- By clicking the journal title you can go the journal record.
- Decide which record should be set as target.
- Click on Set as target, Preview merge, and Merge.
Follow these steps:
- Go to Pure: https://pure.knaw.nl
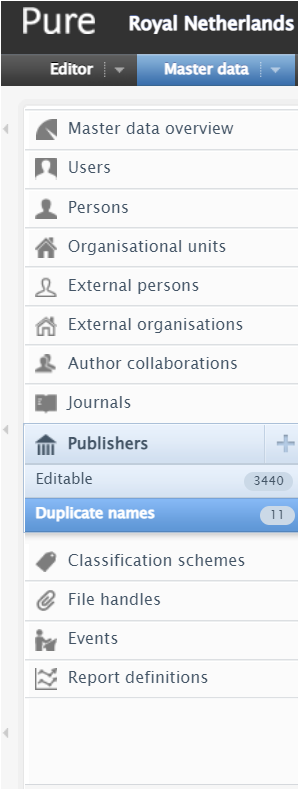
- Go to Master data and click on Publishers.
- Under Publishers click Duplicate Names.
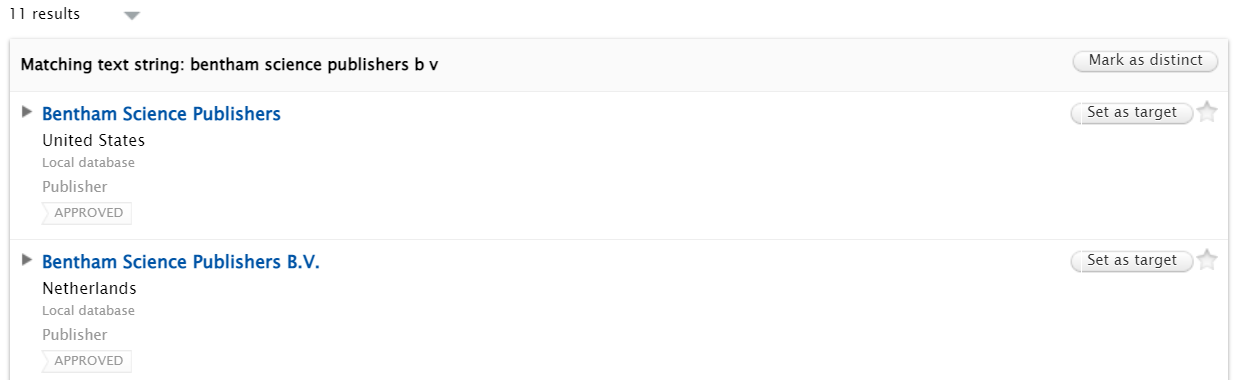
- Check the list of duplicate Publishers.
- By clicking the Publisher name you can go the Publisher record.
- Decide which record should be set as target.
- Click on Set as target, Preview merge, and Merge.
Follow these steps:
- Go to Pure: https://pure.knaw.nl
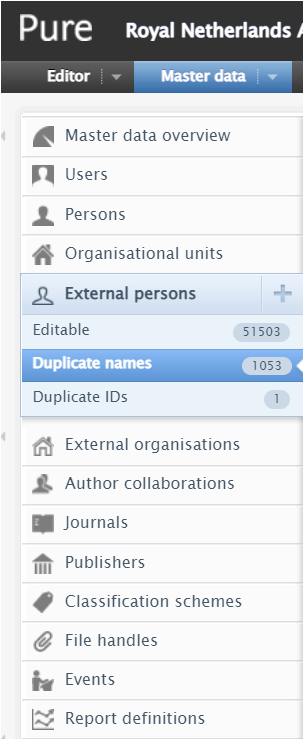
- Go to Master data and click on External Persons.
- Under External Persons click Duplicate Names and Duplicate ID.
- Check the list of duplicate names.
- By clicking the External Persons you can go the External Person record.
- In the record click on the history and comments to see the external person to which institute belongs.
- Decide which record should be set as target.
- Click on Set as target, Preview merge, and Merge.
Persons
Go to Pure: https://pure.knaw.nl/
Follow these steps:
- Go to Master data and click on Persons.
- Use the following filters:

- Organisations and search and select the name of your institute.
- Academic Staff and set it to Academic.
- Affiliation period and set it to Current Period.
- Organisational affiliation type and set it to Staff.
3. Go through the list and control if you need to change current academic staff to former. For this, control the Organisational affiliations, click Edit and set the date to the End date and finally click Update.

Note: Fill both the Staff type and Employed as fields with related information and do not leave them without any category. In order not to exceed the persons license in Pure, register non-academic staff as non-academic in both Staff type (as non-academic) and Employed as (as non-scientific) fields.
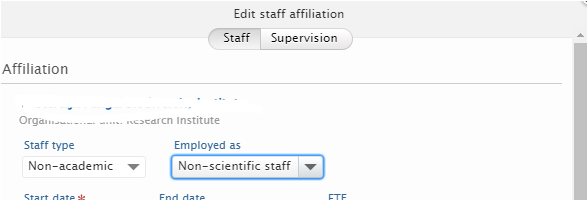
Attention: It is very important to fill out Staff type and Employed as and start date and end date (when it is known) fields with the appropriate label/information.
Attention: Do not use the Unknown and No value labels.
Attention: If the staff type is Academic, do not use the Non-scientific staff in the employed as field.
Attention: If the staff type is Non-academic, use the Non-scientific staff in the employed as field.
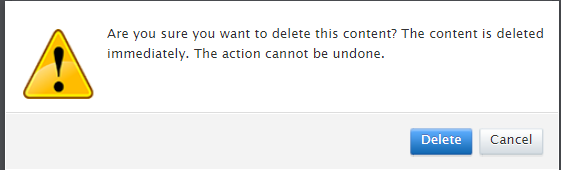
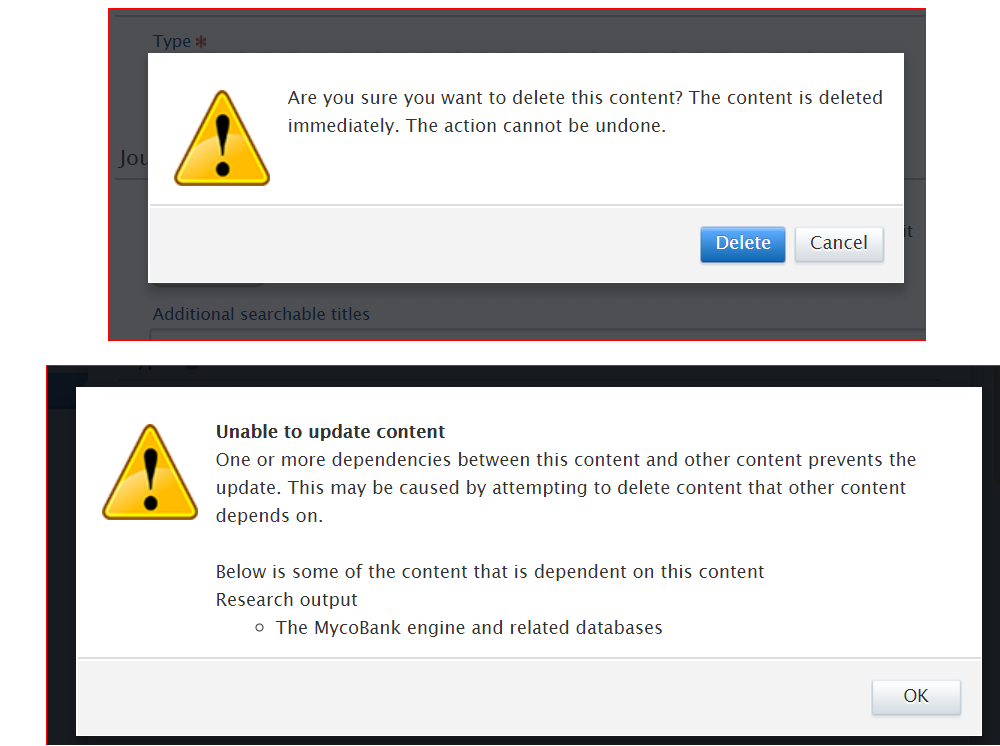
Note: Don’t try to delete persons (by pressing the Red X button on the right bottom) who are associated with contents in Pure since you need to delete all related content (which is not suggested) before deleting the person. In this case the following warning message will pop up:
Note: It is suggested to control the list of persons on a frequent basis and to keep it up-to-date.
Go to Pure: https://pure.knaw.nl/
Follow these steps:
- Go to Master data and click on Persons,
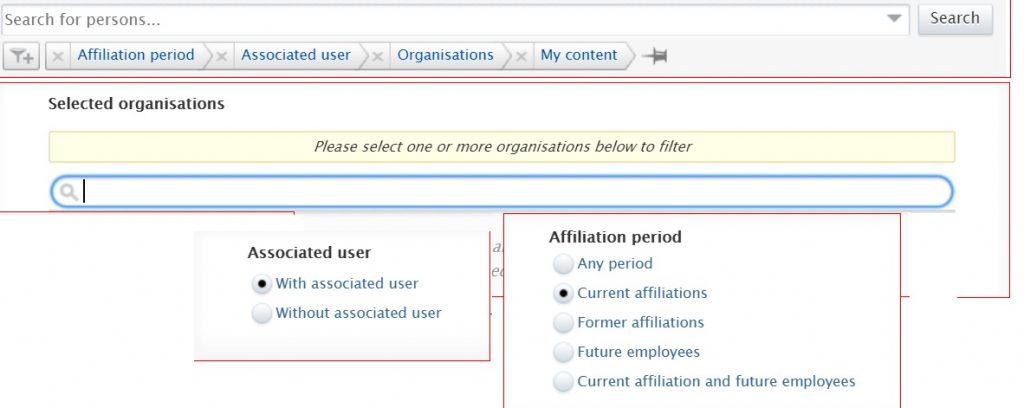
- Click on the Add filter button and select the following filters:
- Select Organisations and search the name of your institute and select it and choose Selected and all underlying organisations if applicable,
- Select Associated user and choose With associated user,
- Select Affiliation period and choose Current affiliations,
- Check the list of personal users and update their information if necessary,
- Click on the personal user name, among others check the metadata particularly check Organisational affiliations, select Edit, check affiliation, start date and end date are correct.
- In case you change anything click Update, otherwise click Cancel,
- Click Save.
See here for more information on academic persons in Pure.
Users
Go to Pure: https://pure.knaw.nl/
Follow these steps:
- Go to Master data and click on Users,
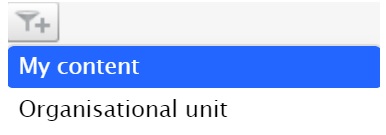
- Click on the Add filter button,
- Select Organisational unit,
- Search the name of your institute and select it,
- Check the list of users and decide whether to keep or remove them,
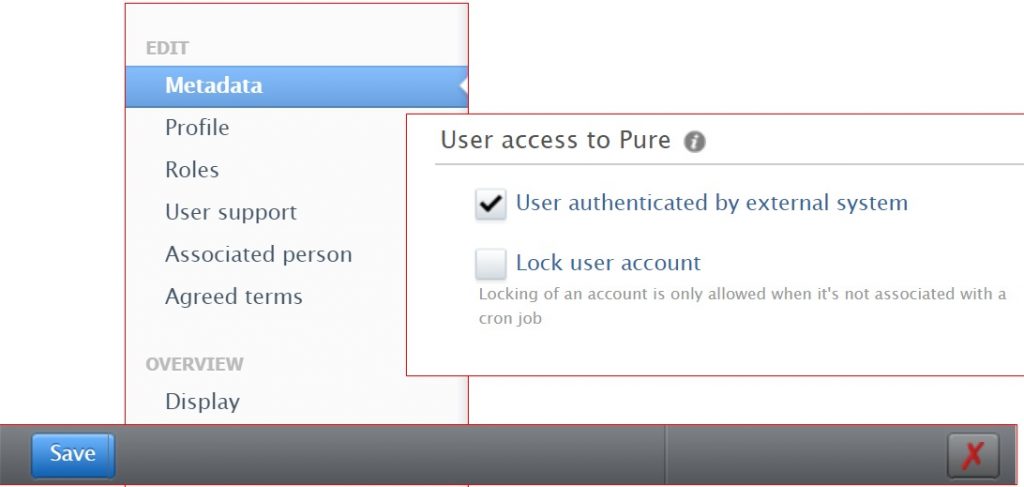
- click on the user name, among others check the metadata and role and associated person (you can use this to check which person is related to the user account),
- if you decide to remove the user, there are two options: delete (not suggested) or lock user account (it is suggested to use this option).
- click save.

Journals
Shared content in Pure are Journals, Publishers, External Organizations, External Persons, Events. These contents are shared among all the KNAW institutes. Therefore it is very important to know that any changes affect the content of all institutes.
There are lots of shared content in Pure that needs to be approved. The following steps help to approve them. The steps are for the journals but can be used for other shared content such as Publishers, External Organizations, External Persons, Events.
Go to Pure: https://pure.knaw.nl/
For approving journals in Pure, follow these steps:
- Go to Master data and click on Journals,
- Click on the Add filter button,
- Select Workflow and then select For approval (you can skip this step and search directly in the search box the name of the journal that you want to approve),
- Search the name of the journals you received in excel file,
- Click on the journal name,
- check carefully all the information of the journal in the metadata section such as title, type, ISSN, publisher, etc.
- Check the relations section if you need to see/check which content types are related to that journal,
- If everything is correct then click Approved and then Save the record.
- Do the above steps regularly to avoid accumulation of journals that are waiting to be approved. It is highly suggested to approve a journal immediately after the journal is registered in Pure to avoid any more duplicates in Pure.
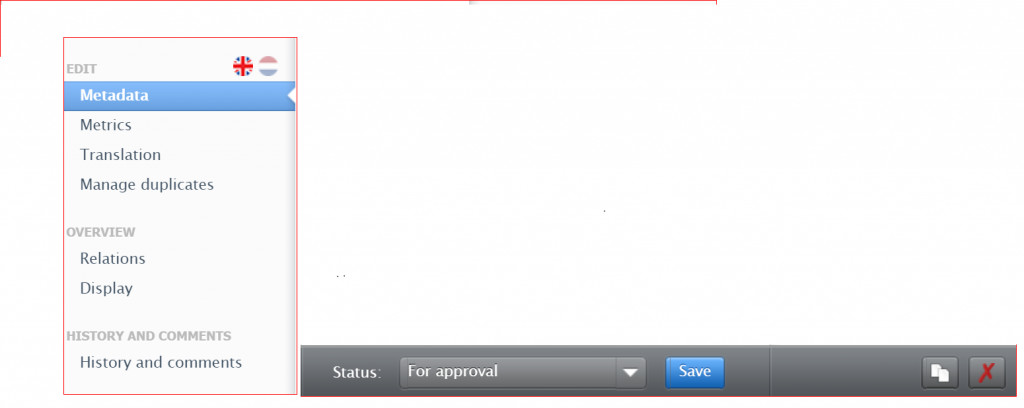
Note: If you find out that you need to remove a journal, click Delete from bottom of the screen and then click Save.
Note: if you want to delete a journal you need to consider first if that journal is related to other contents. This is because it is not possible to delete a journal without deleting those contents related to it.
In this case decide first if you want to delete those contents or replace the name of the journal in those records with the correct journal name and then delete the wrong journal.
Note: always try the Pure Staging (test) environment first if you are not sure what are the consequence of the actions you are performing in the Pure production environment. Always consult the central Pure manager before deleting any content.
Filtering journals:
It is possible to filter journals by the following filters (unfortunately it is not possible to filter by managing organizational unit). An option for periodical check is to filter journals by period (year) and see which of them needs approval. A new possibility is to filter by the contents you have edited. For this follow these steps:
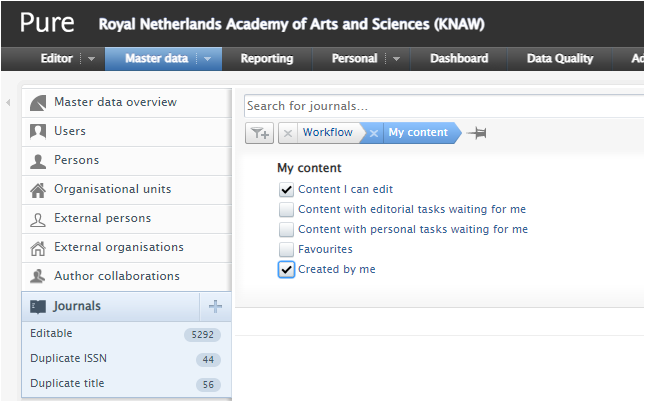
Go to Master, Click Journals
Click My contents, Select Created by me
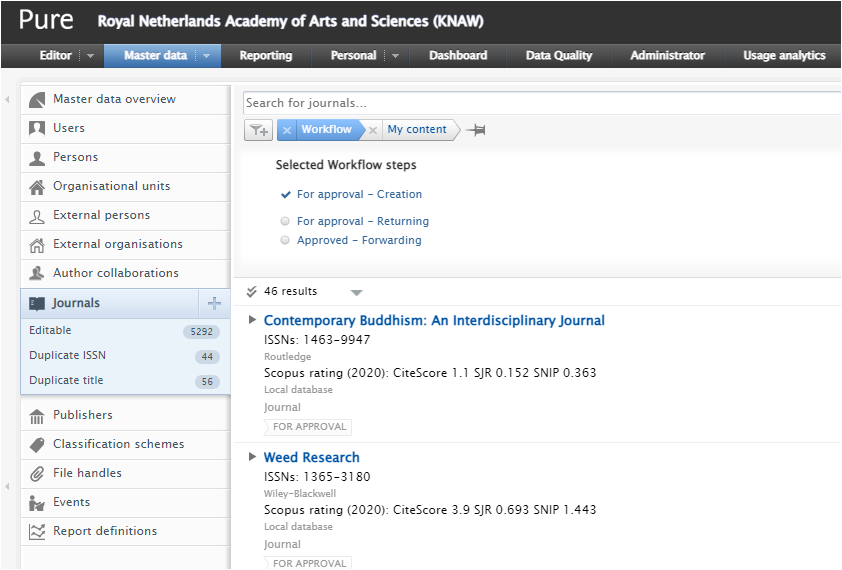
Click Filter, Select Workflow, Click For approval-creation
You see the lists of journals that have been edited by you but not yet approved. You can approve them one by one by changing their status to approved and then save.
Bulk edit approving Journals (not recommended)
It is possible to select journals that needs approval and perform bulk edit in order to approve all of them at once. For this you need to follow these steps:
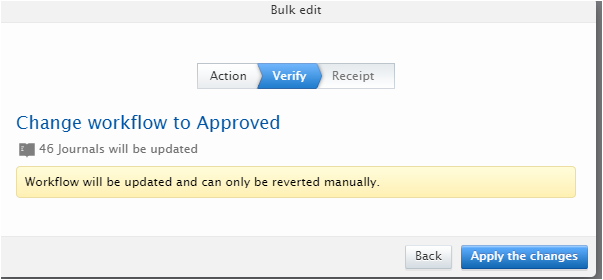
Select all the journals you want to approve, Click bulk edit, change workflow to approve, Click next, Click apply the changes.
This option is not recommended due to the existence of data quality issues unless you are 100% sure that the data quality of the records are good. Note that this option can not be undone! always try bulk edit in the Pure test environment first. If bulk approval is needed ask the Central Pure manager to do a bulk on behalf of you.

Approving shared contents
Shared content in Pure are Journals, Publishers, External Organizations, External Persons, Events. These contents are shared among all the KNAW institutes. Therefore it is very important to know that any changes affect the content of all institutes.
There are lots of shared content in Pure that needs to be approved. The following steps help to approve them. The steps are for the journals but can be used for other shared content such as Publishers, External Organizations, External Persons, Events.
Go to Pure: https://pure.knaw.nl/
For approving journals in Pure, follow these steps:
- Go to Master data and click on Journals,
- Click on the Add filter button,
- Select Workflow and then select For approval (you can skip this step and search directly in the search box the name of the journal that you want to approve),
- Search the name of the journals you received in excel file,
- Click on the journal name,
- check carefully all the information of the journal in the metadata section such as title, type, ISSN, publisher, etc.
- Check the relations section if you need to see/check which content types are related to that journal,
- If everything is correct then click Approved and then Save the record.
- Do the above steps regularly to avoid accumulation of journals that are waiting to be approved. It is highly suggested to approve a journal immediately after the journal is registered in Pure to avoid any more duplicates in Pure.
Note: If you find out that you need to remove a journal, click Delete from bottom of the screen and then click Save.
Note: if you want to delete a journal you need to consider first if that journal is related to other contents. This is because it is not possible to delete a journal without deleting those contents related to it.
In this case decide first if you want to delete those contents or replace the name of the journal in those records with the correct journal name and then delete the wrong journal.
Note: always try the Pure Staging (test) environment first if you are not sure what are the consequence of the actions you are performing in the Pure production environment. Always consult the central Pure manager before deleting any content.
Filtering journals:
It is possible to filter journals by the following filters (unfortunately it is not possible to filter by managing organizational unit). An option for periodical check is to filter journals by period (year) and see which of them needs approval. A new possibility is to filter by the contents you have edited. For this follow these steps:
Go to Master, Click Journals
Click My contents, Select Created by me
Click Filter, Select Workflow, Click For approval-creation
You see the lists of journals that have been edited by you but not yet approved. You can approve them one by one by changing their status to approved and then save.
Bulk edit approving Journals (not recommended)
It is possible to select journals that needs approval and perform bulk edit in order to approve all of them at once. For this you need to follow these steps:
Select all the journals you want to approve, Click bulk edit, change workflow to approve, Click next, Click apply the changes.
This option is not recommended due to the existence of data quality issues unless you are 100% sure that the data quality of the records are good. Note that this option can not be undone! always try bulk edit in the Pure test environment first. If bulk approval is needed ask the Central Pure manager to do a bulk on behalf of you.